
DIY Book Ledges
- Shelby
- Mar 13, 2019
- 2 min read

When I was thinking about what I wanted to do in Graham's nursery, I knew I wanted to create a little library wall for him.

I had seen some nursery inspiration where people used these ikea spice racks as book ledges and thought that was so cute.

But I wanted mine to take up the whole wall. So I enlisted the help of my dad and together we made our own, larger version of the ikea spice rack book ledges.
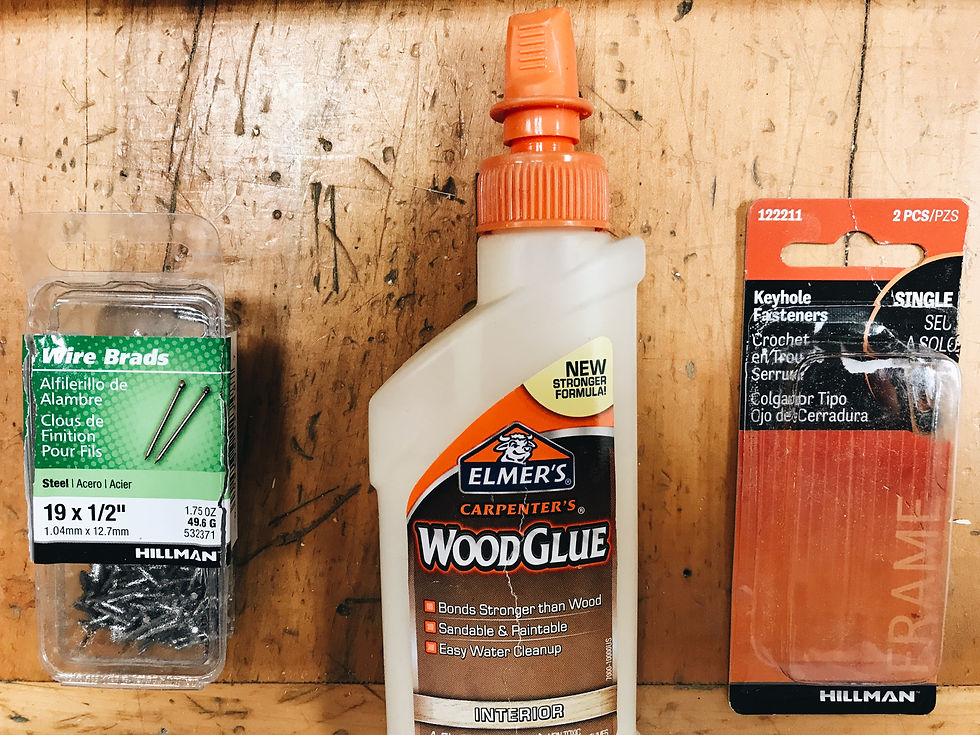
Here's what we used:
- 1 large piece of 1.5" wood
- 1 large piece of trim
- wood glue
- brad nails
- keyhole fasteners for hanging
Because my book wall was going to be close to the closet, I didn't want the ledges to come off the wall too much so I opted for 1.5" wood but you could go bigger if you wanted to be able to layer books more easily.
And I wanted two larger shelves and one smaller shelf so that I could incorporate a piece of art, but you could make these as big or as small as you want!

The measurements I used are:
42" finished for the two larger shelves
24" finished for the shorter shelves
Cut the wood to your desired length, and cut two side pieces for each shelf at 4"- 5"
Use your wood glue to adhere and reinforce with nails.


Add your trim piece once base is assemebled. One thing we did find helpful since the trim pice is thin, is to either pre-drill or lightly hammer in your brad nails so as not to split the trim piece wood.

If you'd like your shelves to hang flush, these keyhole fasteners are the best option!
I liked the two toned look, so I painted my shelves white and kept the trim piece as natural.
And we have loved the final product in his nursery!


These make for great functional + cute decor for any room! And the entire project cost less than $20!
Let me know if you decide to make some - follow along and share with me @shelbygoodman on instagram!
Comments